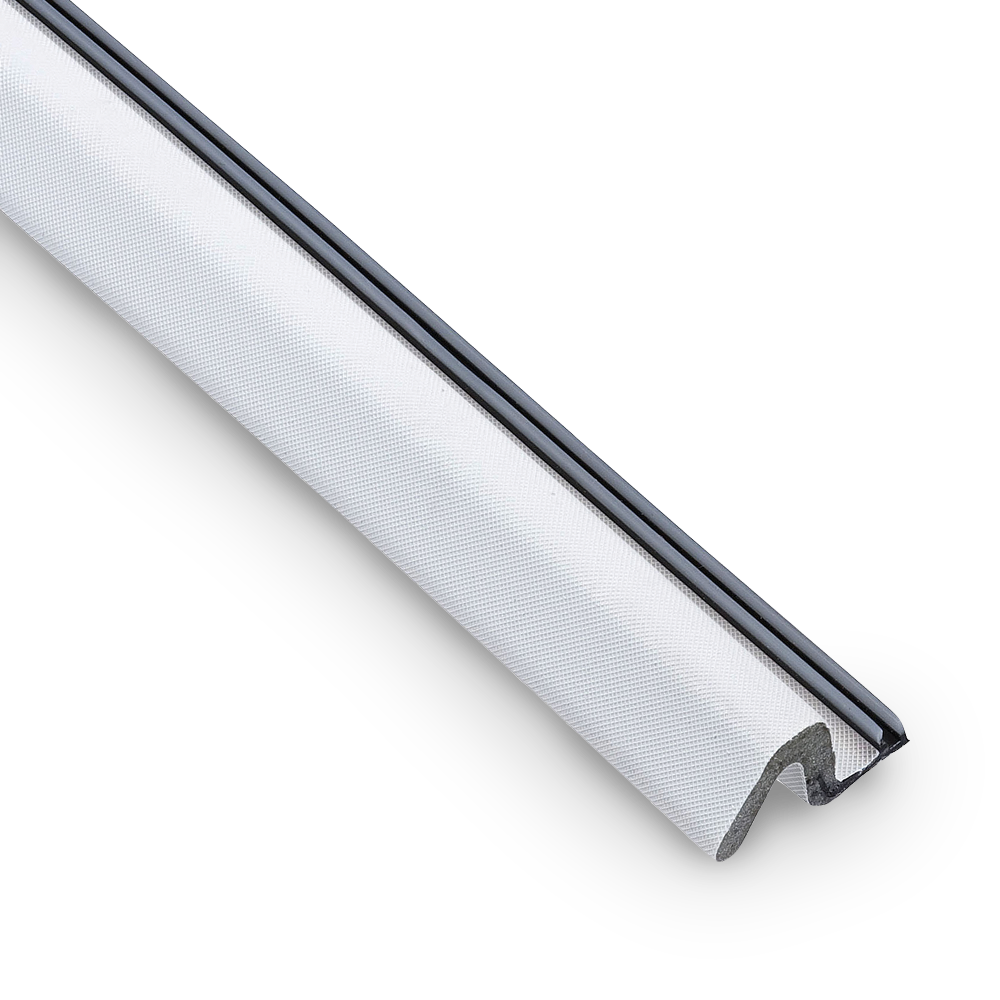
Foam, V-Seal or Rubber Weatherstripping
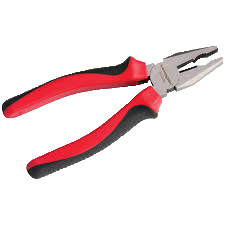
Pliers
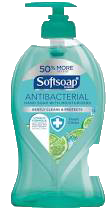
Soap and Water
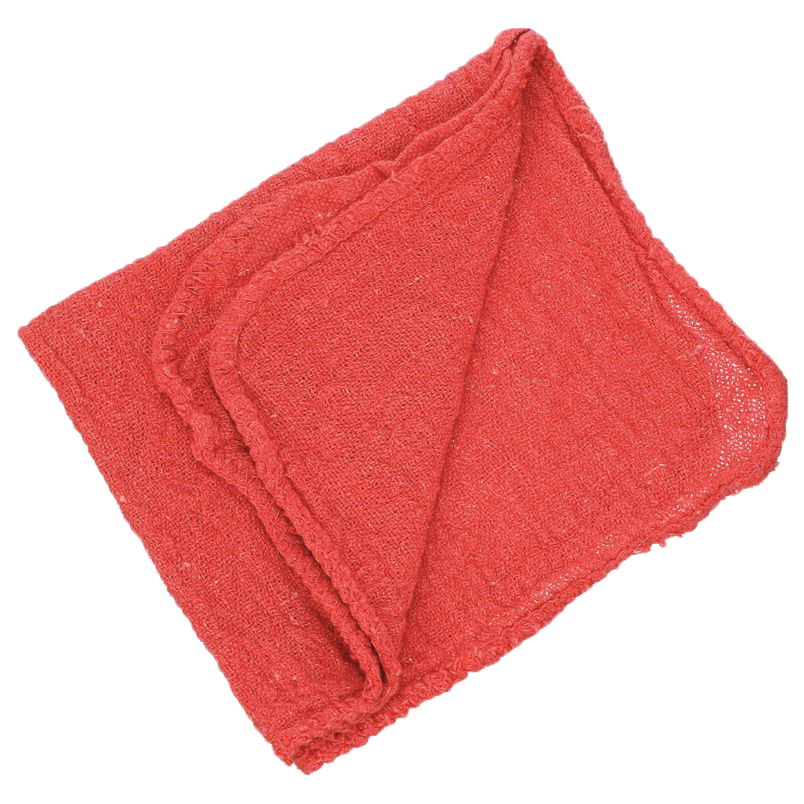
A Cloth
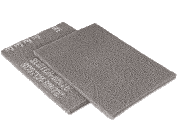
Fine-Grit Sandpaper
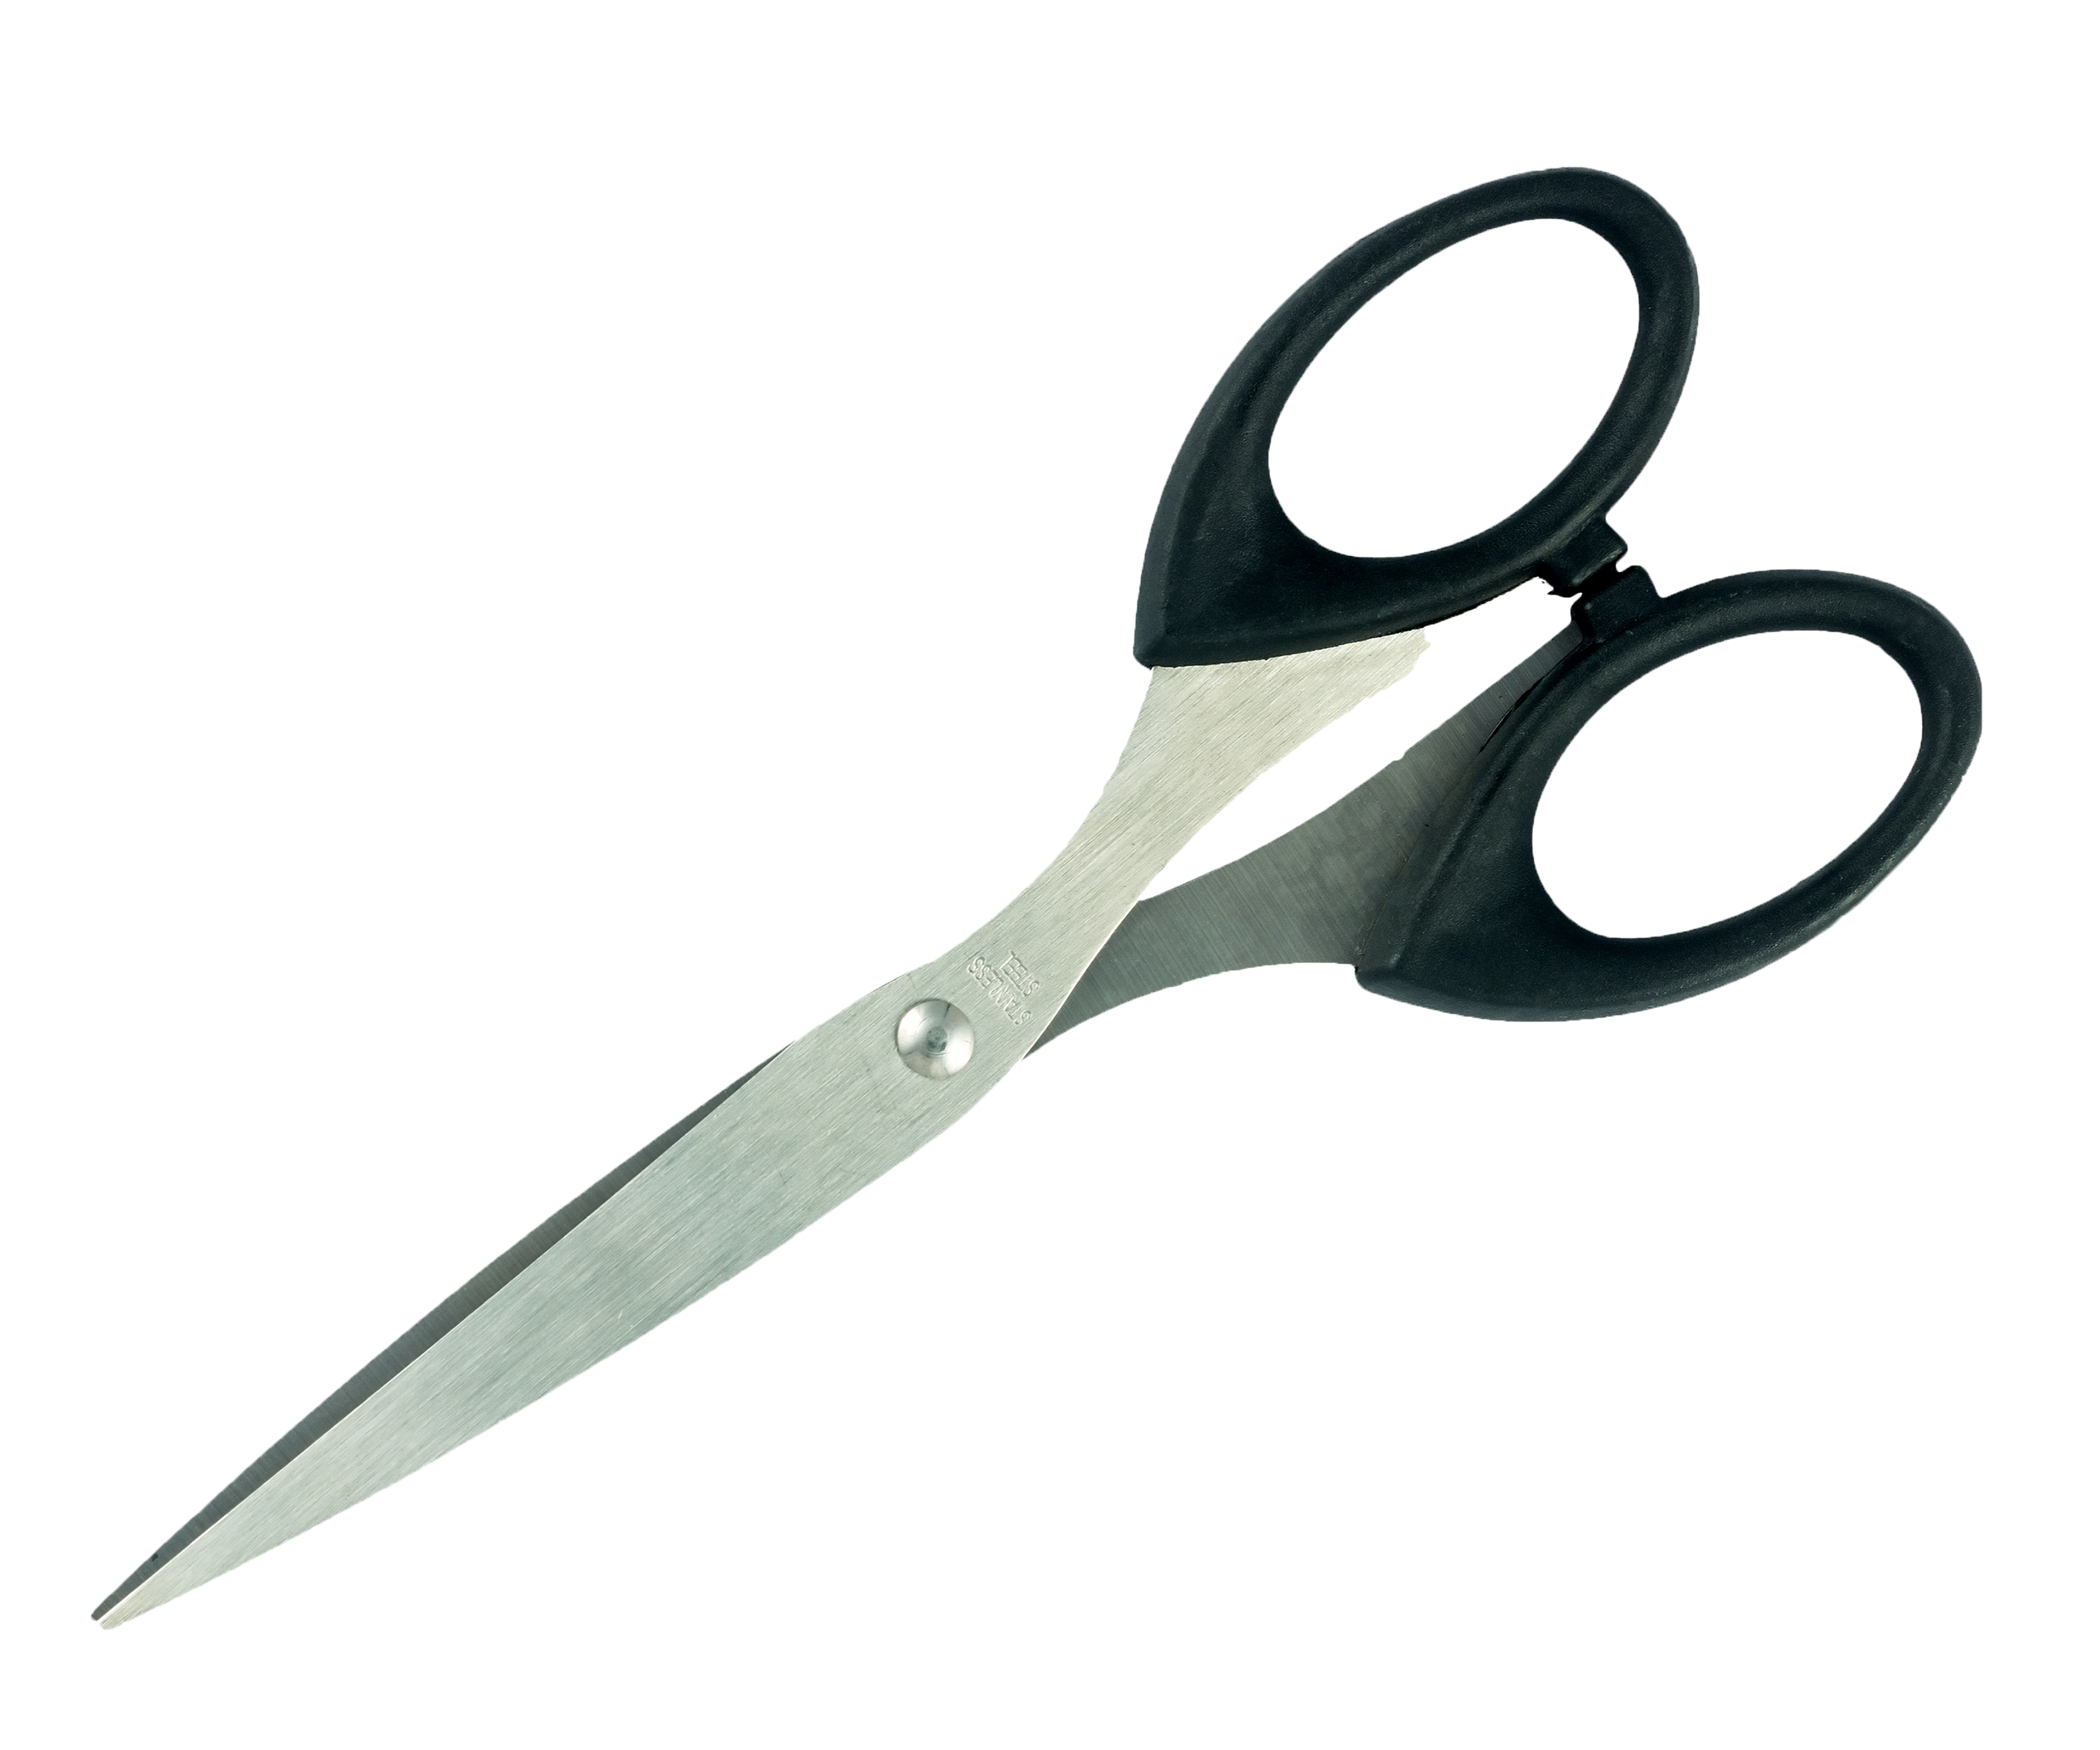
Scissors
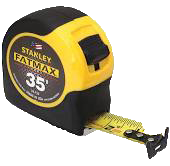
Measuring Tape
STEPS
1. Prepare the area.
Remove any old weatherstripping using your pliers, then clean away any dust or debris using your cloth, soap and water. For stubborn buildup, you can also use fine-grit sandpaper.

2. Measure and cut the weatherstripping.
Next, measure the perimeter of the door jamb to determine how much weatherstripping you’ll need for the top, and each side of the door. Measure and cut the three pieces of weatherstripping.
-gif.gif?width=251&name=Measure%20(1)-gif.gif)
3. Install the weatherstripping.
Starting at the bottom of one side of the door and working your way up and around to the other side, peel away the adhesive backing from the weatherstripping and firmly press it into place around the perimeter of the door jamb.

To help keep it in place longer over time, you can reinforce the weatherstripping with heavy-duty staples or small tacking nails.